

Every year for our anniversary, we try to plan some extravagant international getaway to a country or place we’ve never been before. But obviously, 2020 looked a bit different. In fact, the last time we left the country was our anniversary in October 2019 when we went to the Maldives! Safe to say this year has hampered our travel plans a good bit.
So for our anniversary this past year, we opted to do something completely different. We decided to explore a bit in our own backyard by renting a campervan and hitting the road for a national parks Roadtrip! We were actually so excited about this. Everyone and their brother is doing the van/school bus thing and we thought we would see what it’s all about! We got a whole lot of advice from friends and used apps like campendium to find places to camp, and we learned a whole lot more during the trip itself! But for anyone else looking to do something similar, or wondering what it’s like…here’s what we did and how we did it!

The Details;
Van:
“Mavericks” from Escape Campervans ($1,023.52)
Breakdown Includes:
100 miles / day ($0.29 per mile)
“No Worries” Insurance ($23.99 / day)
7 nights ($68/day)
Bedding Kit ($40 total)
Kitchen kit ($40 Total)
We researched a few different camper van rental companies and settled on Escape Campervans. We couldn’t have been happier! The staff was super accommodating and we loved every bit of our experience! The van was in great shape when we picked it up, and the team at the Denver location made sure that we knew everything about the van before we drove away; they even helped us convert the table down into a bed since we said we weren’t going to be using the table at all. We will definitely use them again and recommend anyone else thinking of doing the campervan thing to check them out!
Route:
We booked Southwest Companion Pass flights from ATL to DEN to pickup our van. ($22.40). If you’re wondering how in the world we got 2 Roundtrip tickets to Denver for $22, check out our post here on the southwest companion pass!
Van from Denver -> Rocky Mountain National Park -> Moab Utah -> Arches National Park -> Zion National Park -> Las Vegas.

Here is our daily breakdown with all the helpful info we could think of! Enjoy!
Day 1
After Landing at Denver airport, we took a Lyft (since we get a free pink membership via our Chase Saphire Reserve Card, we tend to use Lyft over Uber anywhere we can!) for $25 from the airport to the escape campervans depot just outside of Denver in the aurora area.
They gave us a thorough rundown of everything in the van; how to convert the dining area to a bed, how to empty the grey water and refill our water tank etc.
PRO TIP:
We also were able to pick up our annual National Parks pass right at the depot for $80! I highly recommend picking one up in person there if you can as you can bypass both the waiting period from ordering online as well as the long lines at park entrances to purchase them.
We headed to the local Wal-Mart to stock up on food for the trip! A few of the meals we decided on were:
Breakfasts:
Scrambled eggs
bacon
Instant Oatmeal
Fruit
Dinners:
Ramen
Sausage & minute rice scramble
Mac n Cheese
Tacos
Hot dogs
Then of course we bought some necessities like s’mores supplies, la croix, water, and a jug of cold brew coffee of course! When all was said and done, for all of our food (and some other camping supplies) our grand total was about $200. We packed everything in the van and headed up to Fort Collins to meet up with some friends for dinner.
Day 2


Quick Look:
Red Truck Brewing
Stanley Hotel
Estes Park
Rocky Mountain National Park
La Quinta inn Silverthorne
Due to an unfortunate case of tonsillitis that plagued Matthew for the first bit of our trip, we got off to a later start than we had planned this day. We slept in a bit and spent the morning resting and visiting Red truck brewing, our friend’s brewery in fort collins, for lunch!
After lunch, we finally headed out toward Rocky Mountain National Park. We stopped at a Starbucks in Estes park and also made sure to run in and check out the famous Stanley hotel while we were in town! Apparently the most haunted hotel in America!
Then we continued on straight up to the bear lake trailhead in the national park. On the way we saw a herd of elk off the side of the road! We did a quick hike to bear lake before it got too dark and decided we needed to go ahead and move on because we were hoping to find a place to sleep before dark!
While we had planned to stay on some BLM land, the way our day had gone we opted to just go ahead and get to the next town and crash in the parking lot of the La Quinta. We also got a quick refreshing shower in the next morning before hitting the road to MOAB!
Day 3
Day 3 was exclusively a travel day making our way to MOAB Utah!
Quick Look:
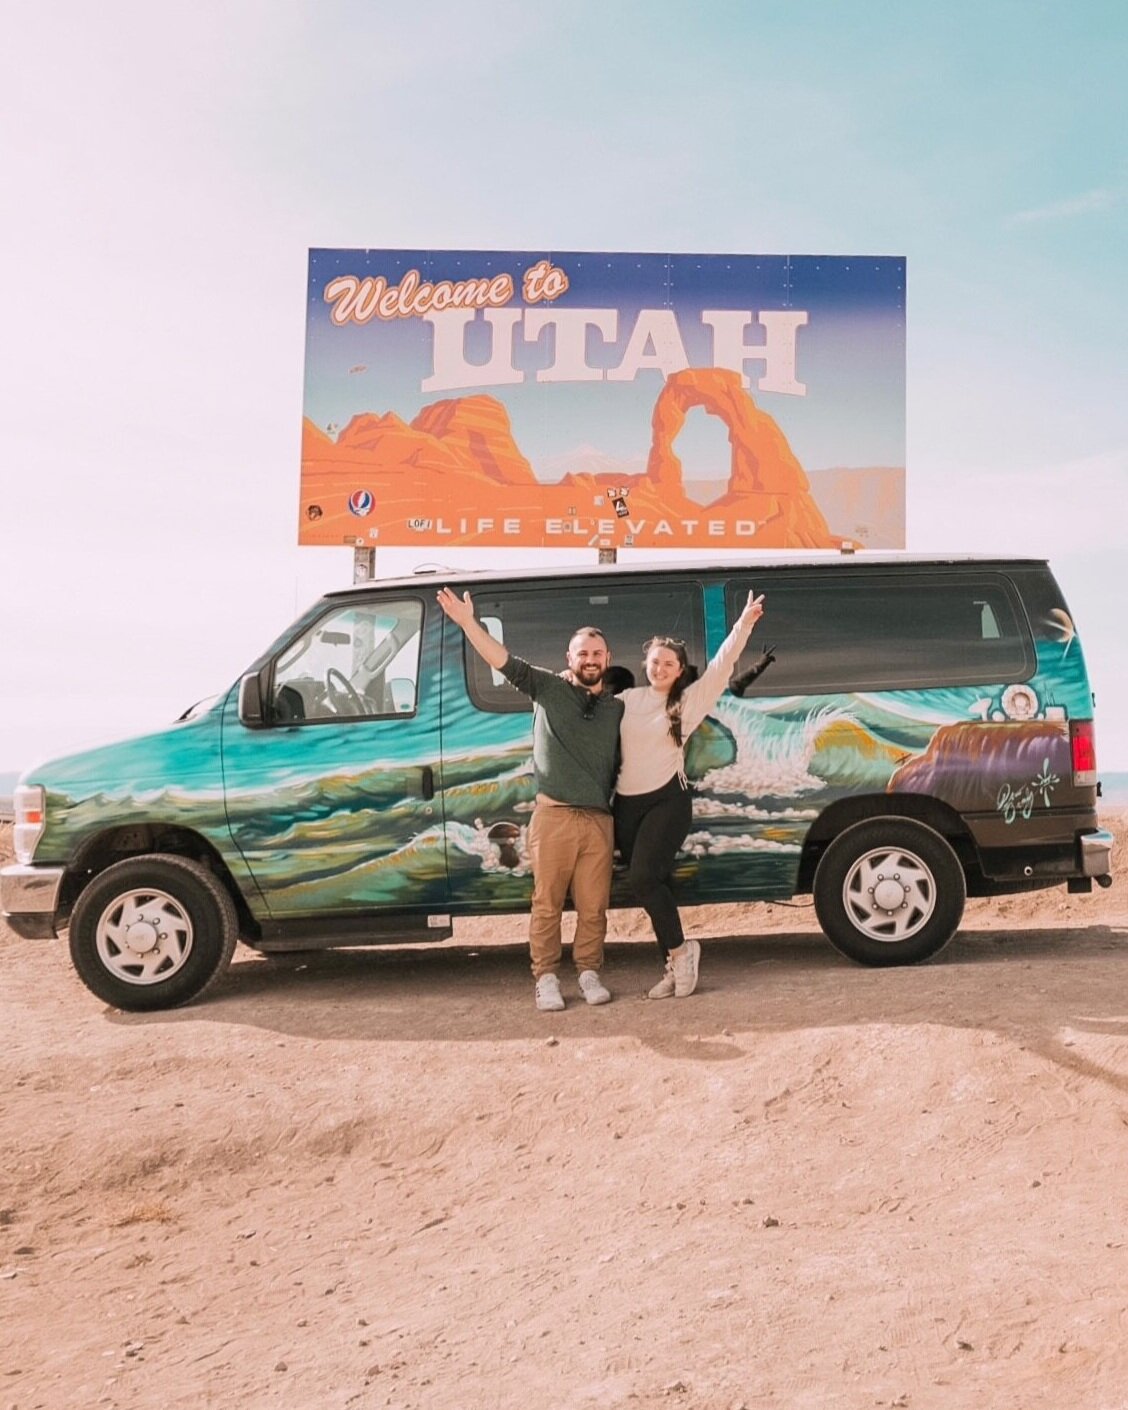
Utah Welcome Sign
James M Robb Colorado River State Park
Seven Mile Parking
Along the way of course we had to stop and get our photo at the Utah welcome sign! (Obviously…be careful if you’re doing this!) There’s a space to pull off the freeway and get your photo like this! Only took us a few minutes to get the van positioned and get our photo before some other people started pulling up!
We also wanted to stop somewhere to enjoy some lunch so we found a beautiful little state park off the side of the road! There was a small entrance fee unfortunately but it was SO worth it for some time to stretch our legs, have a nice little picnic, and take in the changing scenery.
It took us a little while to figure out our rhythm as we kept getting to our destination after dark. This made it much more difficult than we had anticipated to find camping spots. We finally settled into an overnight parking spot at the 7 mile parking lot near Gemini Bridges campsites just outside of arches national park which set us up great for the morning!


DAY 4
Quick Look:
Arches National Park
Windows & Turret Arch
Double Arch
Sunset Campground Bryce canyon
We woke up after a great night sleep, made some coffee and some breakfast and enjoyed the sunrise together! We headed into the park around 8:30am to try and get some hiking in before it got too hot.
We did the double arch hike which was more of a walk and less of a hike, highly recommend it! However, the climb up to get the classic photo was a bit more difficult! Huge thanks and shoutout to the people willing to take our picture after making our way up there!

We also enjoyed the relatively easy 1-mile hike to both the north and south windows and turret arch.
After returning from this hike we ate some lunch at the van and then hit the road hoping to have more luck with a camping spot in our next spot, Bryce canyon!

Thankfully we arrived at Bryce Canyon before dark and decided to go ahead and try to snag a spot inside the park a campground. We found an available site at the sunset campground and we were SO happy to have an actual campground to sleep at that night. We caught some views of Bryce canyon at sunset then headed back to our campsite for hot dogs and smores!

DAY 5

Quick Look:
Our morning started around 8am, enough time for breakfast, coffee, and a good campsite clean up before heading to the horse corral for our horseback ride down into the canyon! We booked a 2-hour trail ride with canyon trail rides for $75/person and it was SO worth it! We got to take a guided tour down to the canyon floor and the best part was of course the horses did all the work! Our only warning is that it was DUSTY on the trail. You might want to get your mask back out for this one and make sure you wear clothes you don’t mind getting dirty, this red dust got everywhere!

After our trail ride, we opted to go ahead and hike the Navajo Loop trail. And we might be a touch embarrassed to admit it kicked our buts! It was beautiful but of course, hiking down into the canyon means you’ve gotta hike back up, and we were sweating buckets by the time we were done! Would I do it again? maybe not? But would I recommend it, definitely! We started at sunset point and went in the direction of wall street first. we debated which way we should do the trail but to be completely honest, I don’t think it matters, it’s all beautiful and either way, you’re going to do some serious elevation gain!
After finishing the trail we cooled off a bit, made some lunch at the van, and then hit the road for our quick 1.5-hour drive to Zion! Having not showered in a couple of days we went ahead and stayed at Zion Canyon Campground just outside the south entrance to Zion national park! It was $59 for the night for a tent site and included shower tokens which were a lifesaver!

We enjoyed our night in another campground with a fire, some good pasta bolognese and prepping for our narrows hike the next morning!

DAY 6
Quick Look:
We woke up early the next morning for what would turn out to be the higlight of our entire trip…hiking the Narrows. If you don't know much about the narrows hike, it is a 10-mile roundtrip strenuous hike where you are in varying depths of water the entire time. You are hiking in the Virgin River through a narrow slot canyon for miles on end. It was AMAZING!
Now zion has an entire eco-system of transportation information and it can be quite complicated to know what shuttles to take when and where to park etc. After experiencing it in person I will say it wasn’t as crazy as the internet made it seem. However, we opted to go through the zion Adventure Company for our tour. They were incredible! They took care of our transportation into the park down to the trailhead, they also supplied us with waterproof boots and pants so that we could stay warm and dry all day.
Should we rent all the gear or just go at it ourselves?

Here’s my 2 cents on this, could we have done it without any of the gear? Sure. but we probably would’ve been pretty cold the whole time (it was mid-October and starting to cool down, especially in the early morning when you have to start.) Also, the walking stick was amazing because the bottom of the river bed you are walking on is all medium-sized rocks that it is very easy to lose your footing on. The water-tight socks and boots also saved us from stubbed toes, twisted ankles, and a whole lot of drama. I would 10/10 recommend at least the walking stick and water-tight boots if nothing else.
We paid $82/person for the entire dry-suit package (pants, boots, socks, and a walking stick) as well as roundtrip transportation to and from the trailhead. Worth every penny! If you’re planning to do the narrow hike be sure to check out Zion adventure company.
We started our hike from the parking lot a hair after 9am and hike some 22 thousand steps until we made our way back to the pickup point almost 6 hours later at 2:45pm .
After returning all of our gear to zion adventure company, we hit up Feel Love Coffee for some iced coffee and even a little bit of vegan soft serve ice cream which was just what we needed after a long day of hiking!
From there we hit the road out to our dispursed camping spot for the night, REAL north creek dispersed camping. Funny enough, this was our first night fully camping off grid in a dispersed spot! By this time we felt confident enough for it and we so enjoyed the stars and being out away from everything!


Quick Look:
Canyon overlook trail
Caesars palace
ono sushi
For our last day, we decided to head back into zion one more time and hike the canyon overlook trail which was So fun and relatively easy! The views are truly incredible and we encourage everyone to do at least this trail if nothing else!
We also ended up exploring a few more small slot canyons near the entrance to the canyon overlook trail. We finished up and made our lunch and started the last leg of our trip into las vegas.
For our last night, we used a free night reward from caesars entertainment to grab a room at caesars palace on the strip which ended up being perfect! We packed up the van to get it ready for returning the next morning then went and grabbed dinner at a restaurant that a good friend of ours from Atlanta owns, ONO Sushi! It’s just off the strip a couple of miles and 100% worth visiting if you want some fantastic sushi! all of their appetizers are amazing too, especially the ramen!
We hope this overview helped you if you are thinking of doing a similar trip! As always feel free to reach out with any questions about anything! We are here to help!
